In the world of cloud computing, ensuring your applications can handle varying loads without compromising performance is crucial. AWS provides robust tools like Load Balancers, Auto Scaling, and Launch Templates to help manage traffic and resources efficiently. In this blog post, we’ll guide you through the step-by-step process of setting up a load balancer using Auto Scaling and Launch Templates in AWS. This guide is optimized for SEO and easy for anyone to understand.
Why Use Load Balancers, Auto Scaling, and Launch Templates?
Load Balancers distribute incoming traffic across multiple instances, ensuring no single instance is overwhelmed. Auto Scaling automatically adjusts the number of instances based on demand, ensuring optimal performance and cost efficiency. Launch Templates simplify the configuration and deployment of instances, providing a reusable blueprint.
Imagine your application as a busy restaurant: A load balancer is like a maître d’, directing customers (traffic) to available tables (instances), while auto-scaling adds or removes tables based on the number of customers to ensure everyone is served efficiently.
Step-by-Step Guide to Setting Up
Step 1: Setting Up a Launch Template
- Log in to the AWS Management Console and navigate to the EC2 Dashboard.
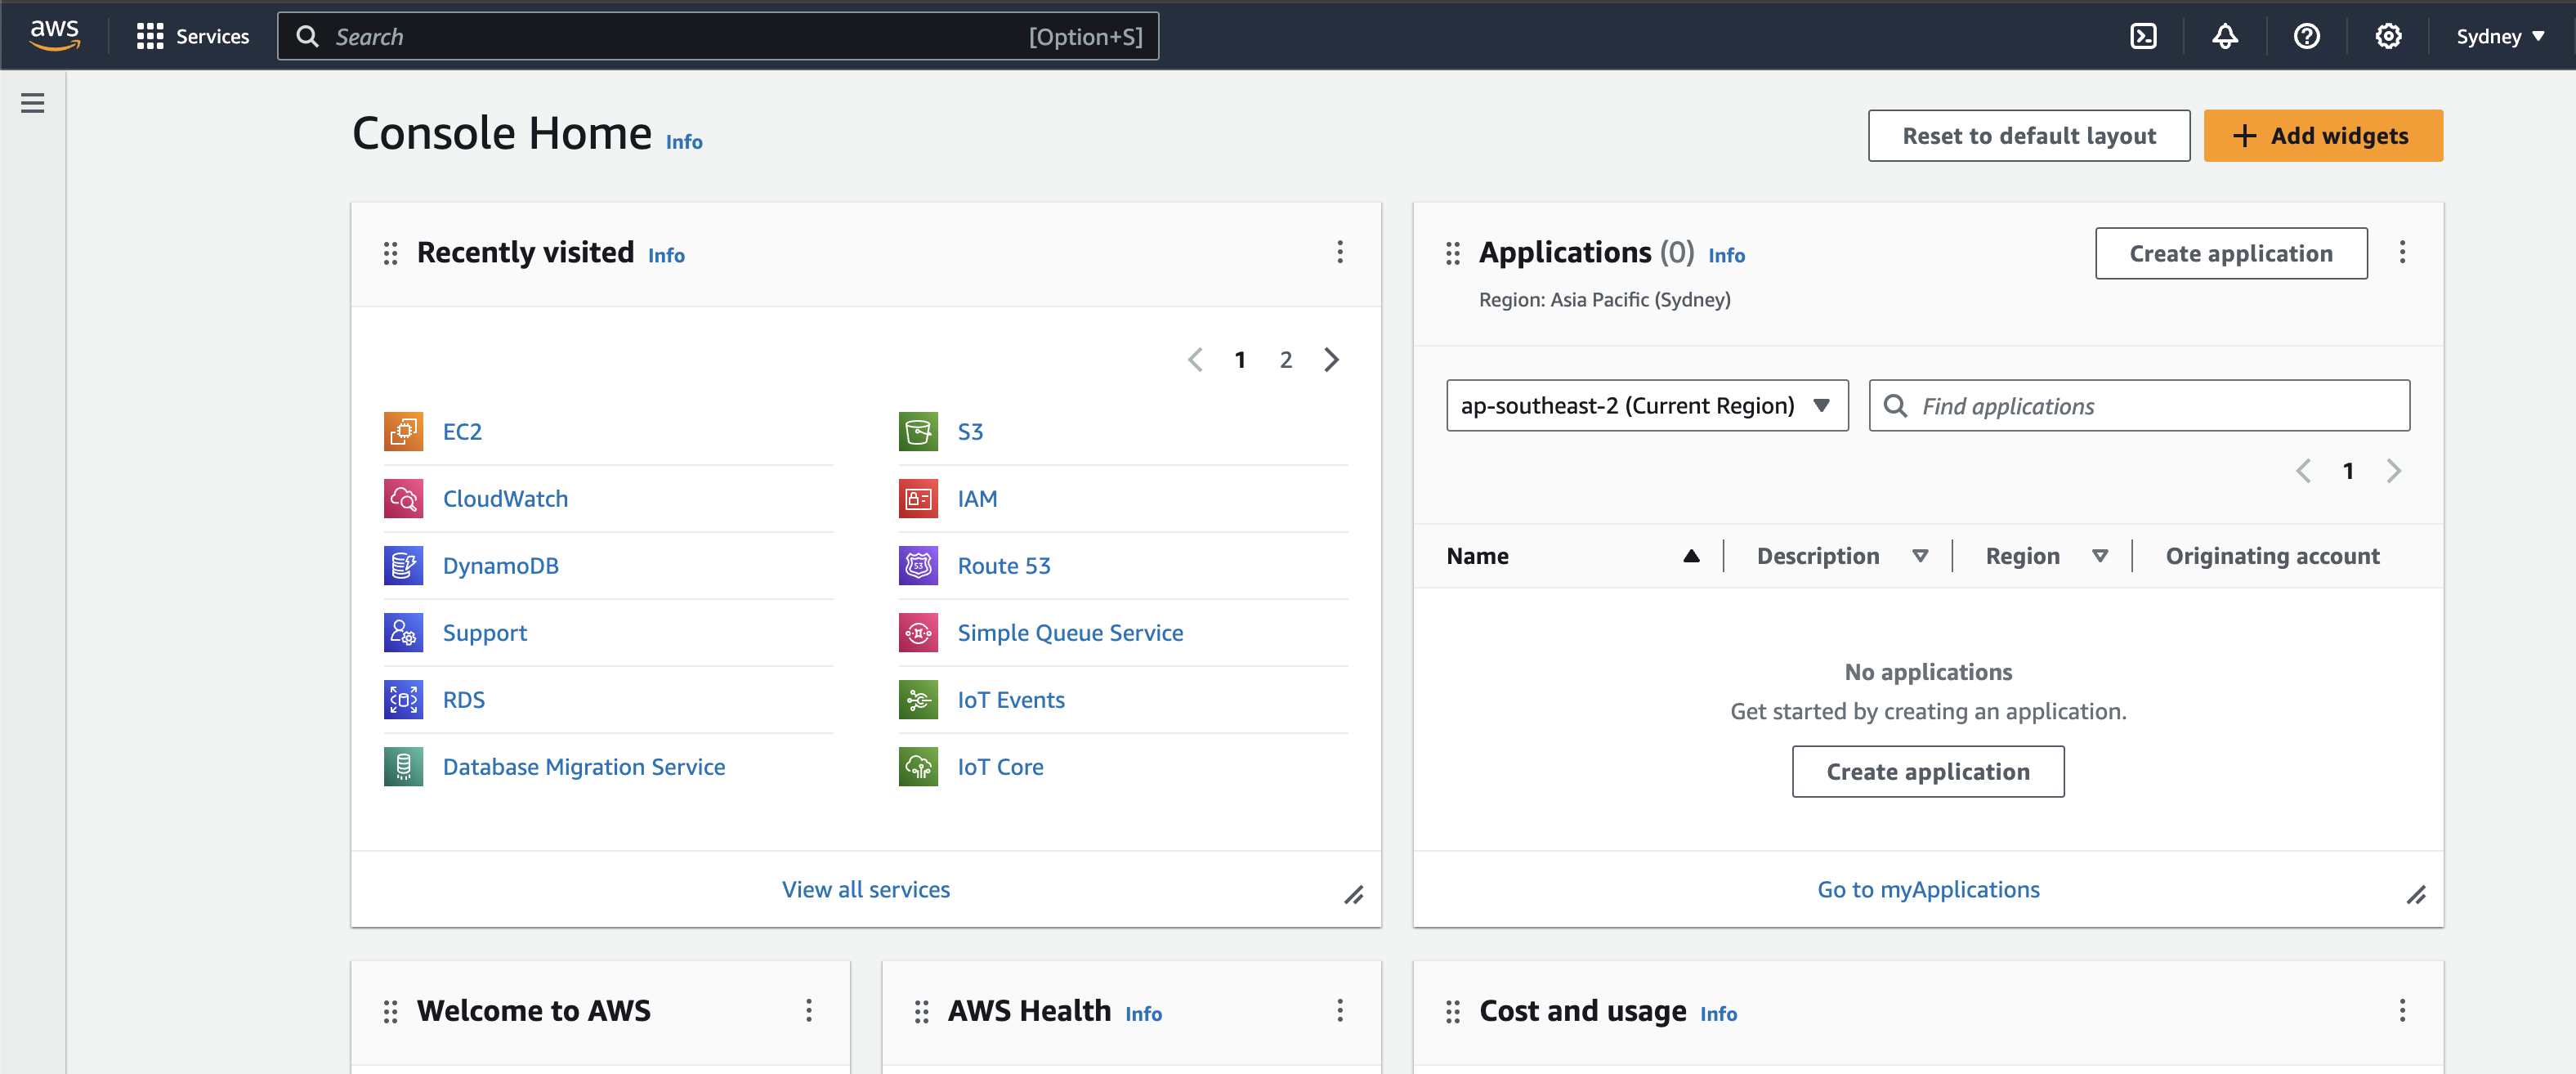
- Create a Launch Template:
- Go to Launch Templates under Instances.
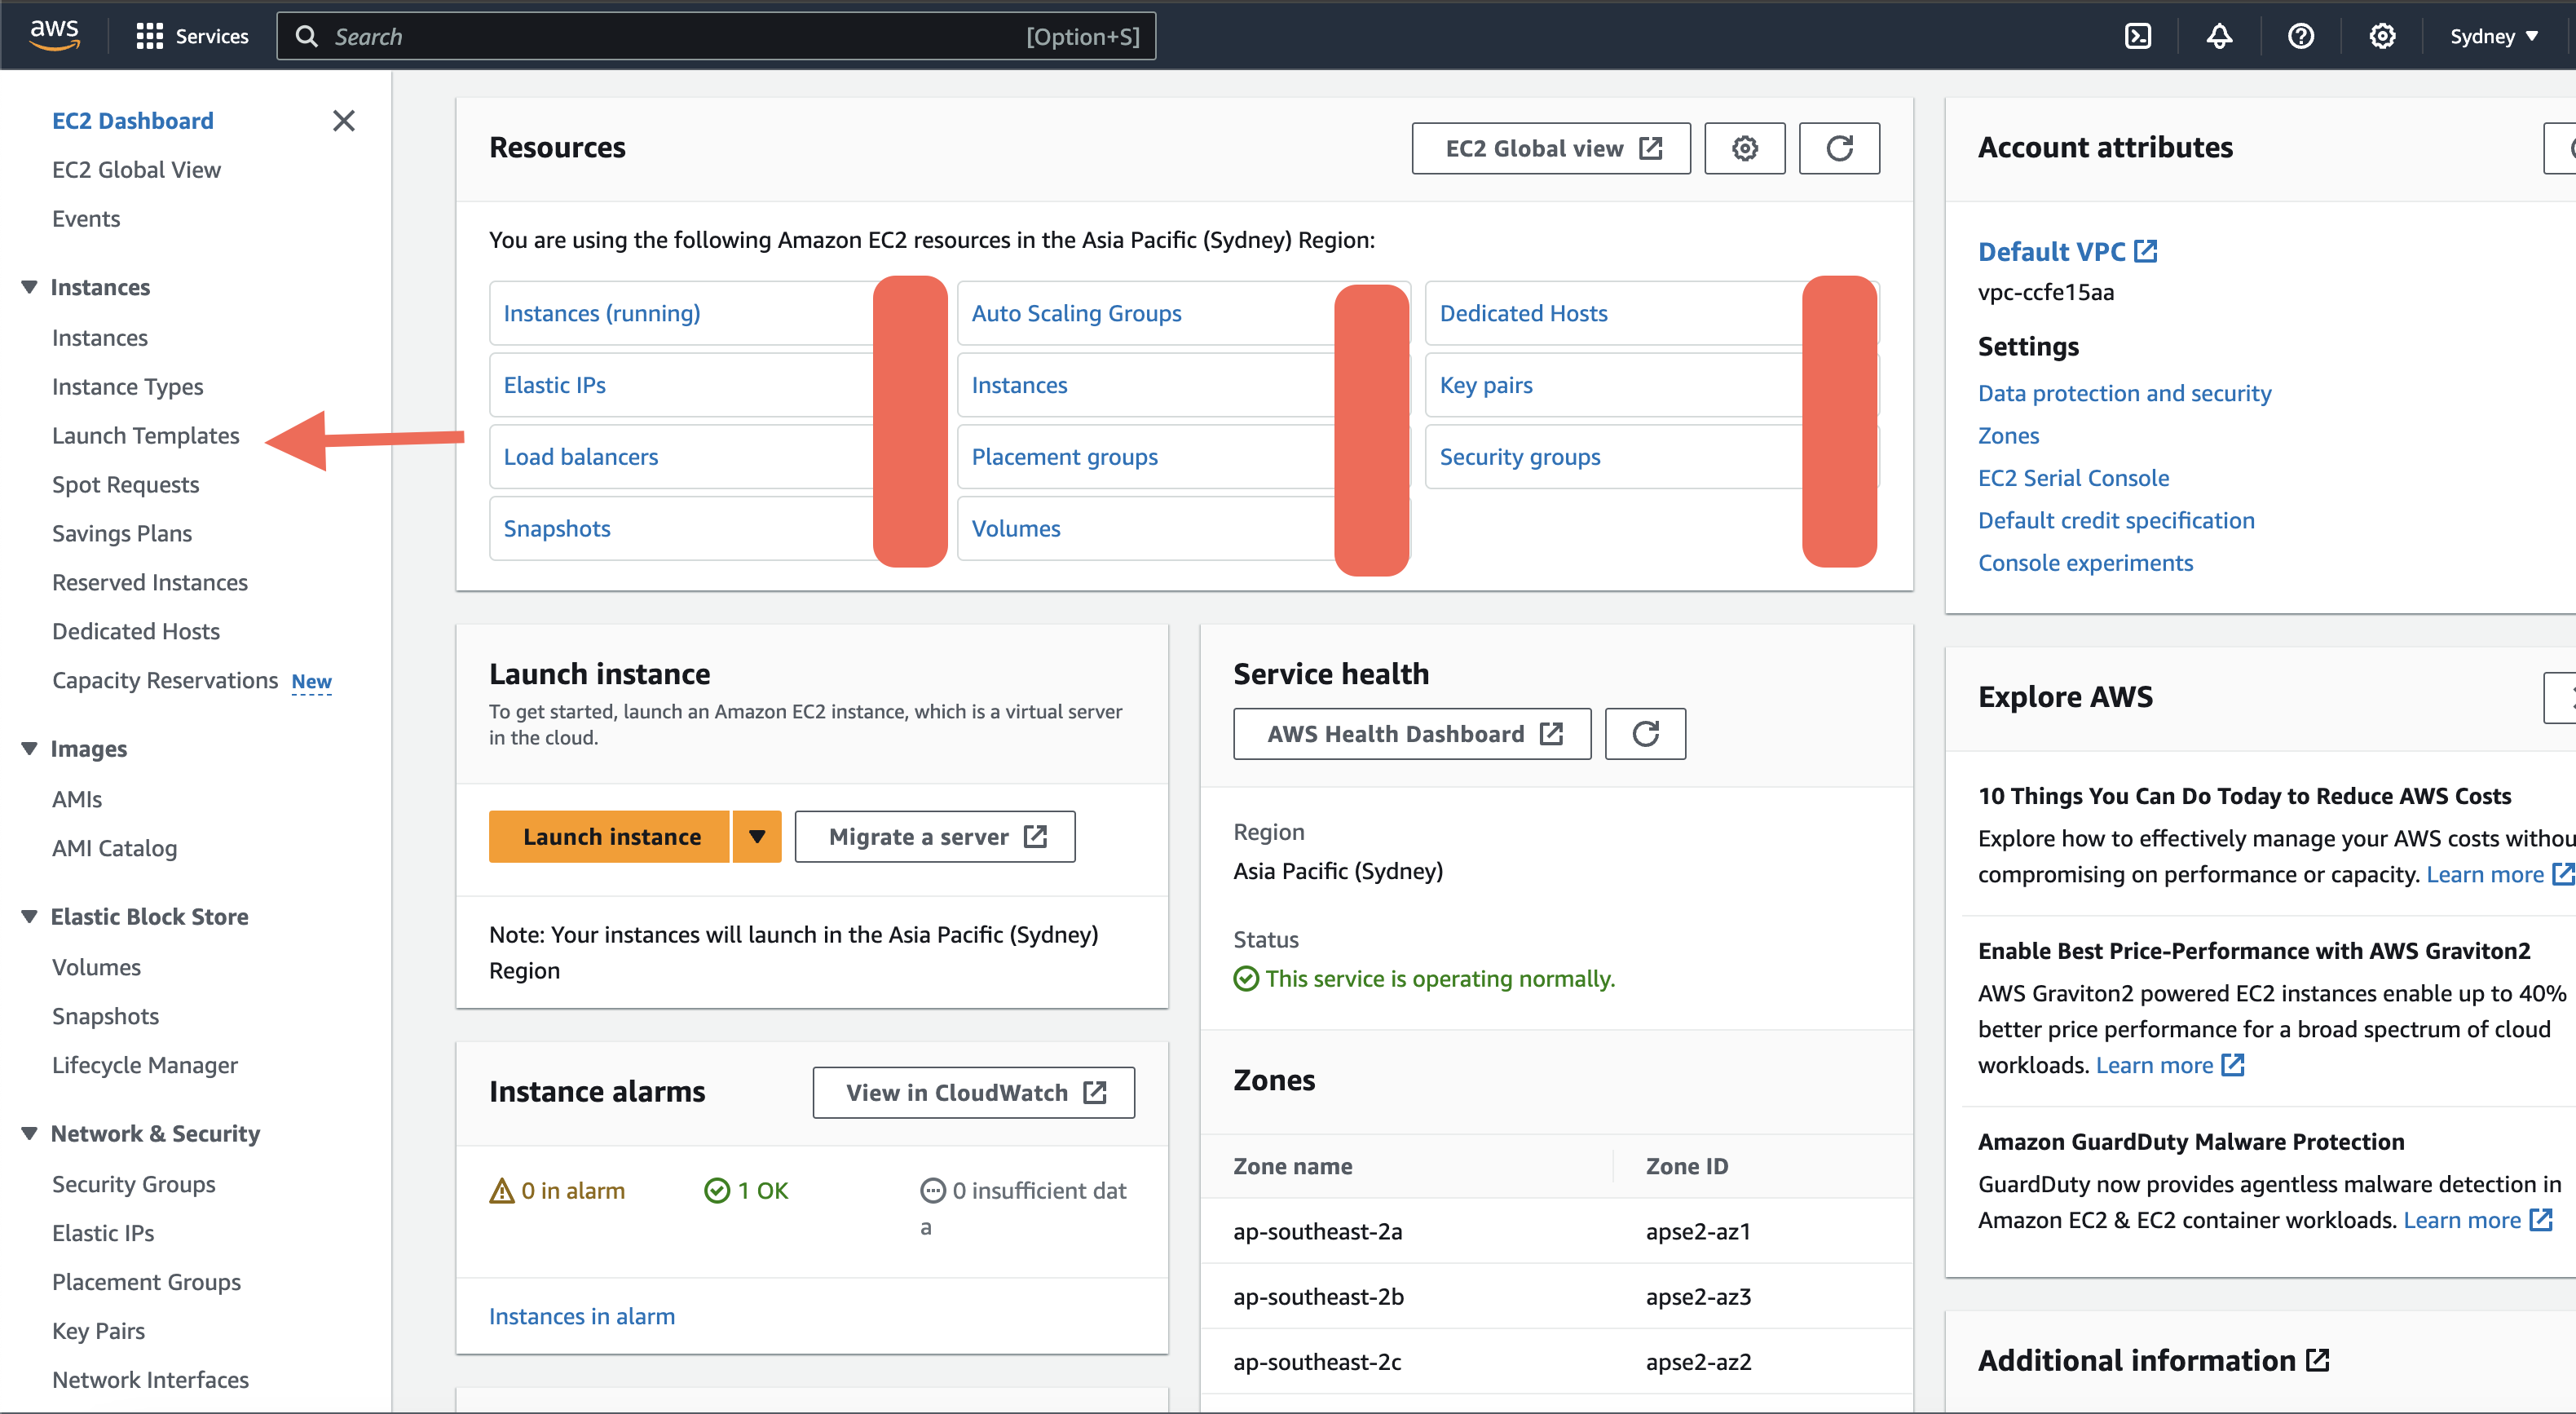
- Click Create Launch Template.
- Enter a name and description for your template.
- Select the Amazon Machine Image (AMI) and instance type.
- Configure key pair, network settings, and storage as needed.
- Add any additional configuration such as security groups and user data scripts.
- Click Create Launch Template.
- Go to Launch Templates under Instances.
Step 2: Configuring Auto Scaling Group
- Navigate to the Auto Scaling Groups:
- In the EC2 Dashboard, select Auto Scaling Groups.
- Click Create Auto Scaling group.
- Create the Auto Scaling Group:
- Select your launch template.
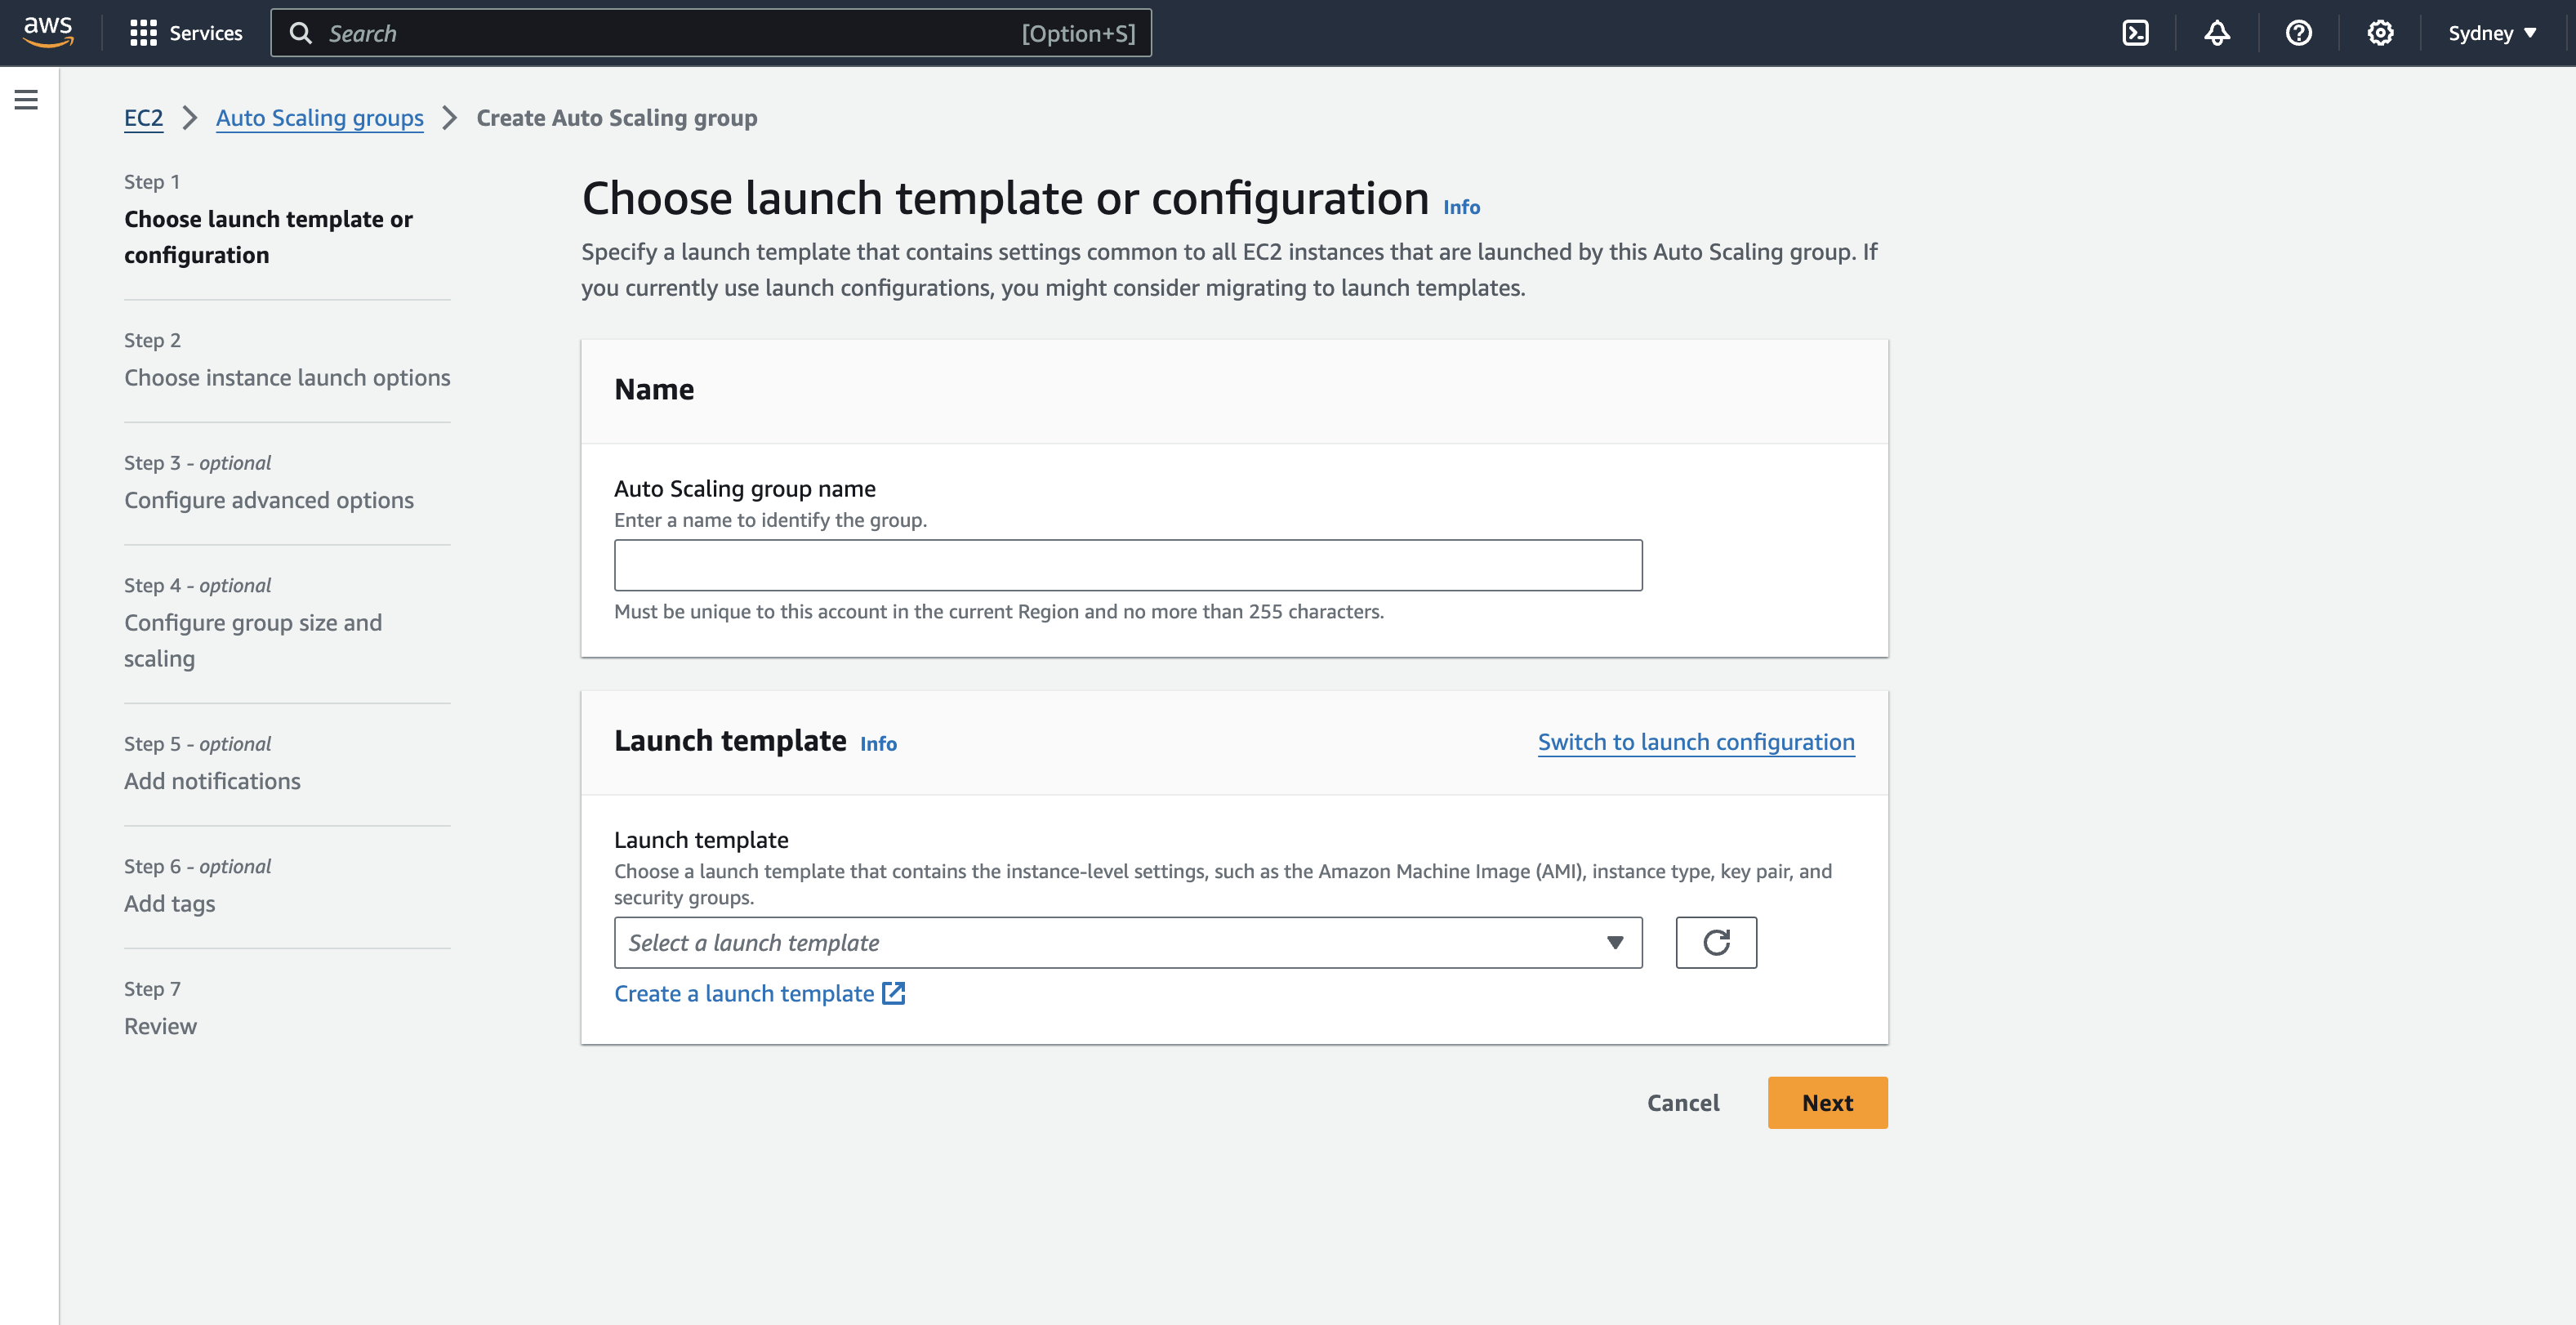
- Enter a name for the Auto Scaling group.
- Choose the VPC and subnets where you want to launch your instances.
- Configure the group size (desired, minimum, and maximum capacity).
- Click Next.
- Select your launch template.
- Configure Scaling Policies:
- Choose the scaling policies based on your needs (e.g., target tracking scaling policy).
- Set up CloudWatch alarms to trigger scaling actions.
- Click Next.
- Add Notifications (Optional):
- Configure notifications for scaling events if needed.
- Click Next.
- Tags and Review:
- Add tags to organize your resources.
- Review the configuration and click Create Auto Scaling group.
Step 3: Setting Up a Load Balancer
- Navigate to the Load Balancers:
- In the EC2 Dashboard, select Load Balancers under Load Balancing.
- Click Create Load Balancer.
- Select Load Balancer Type:
- Choose Application Load Balancer (ALB) for HTTP/HTTPS traffic or Network Load Balancer (NLB) for TCP traffic.
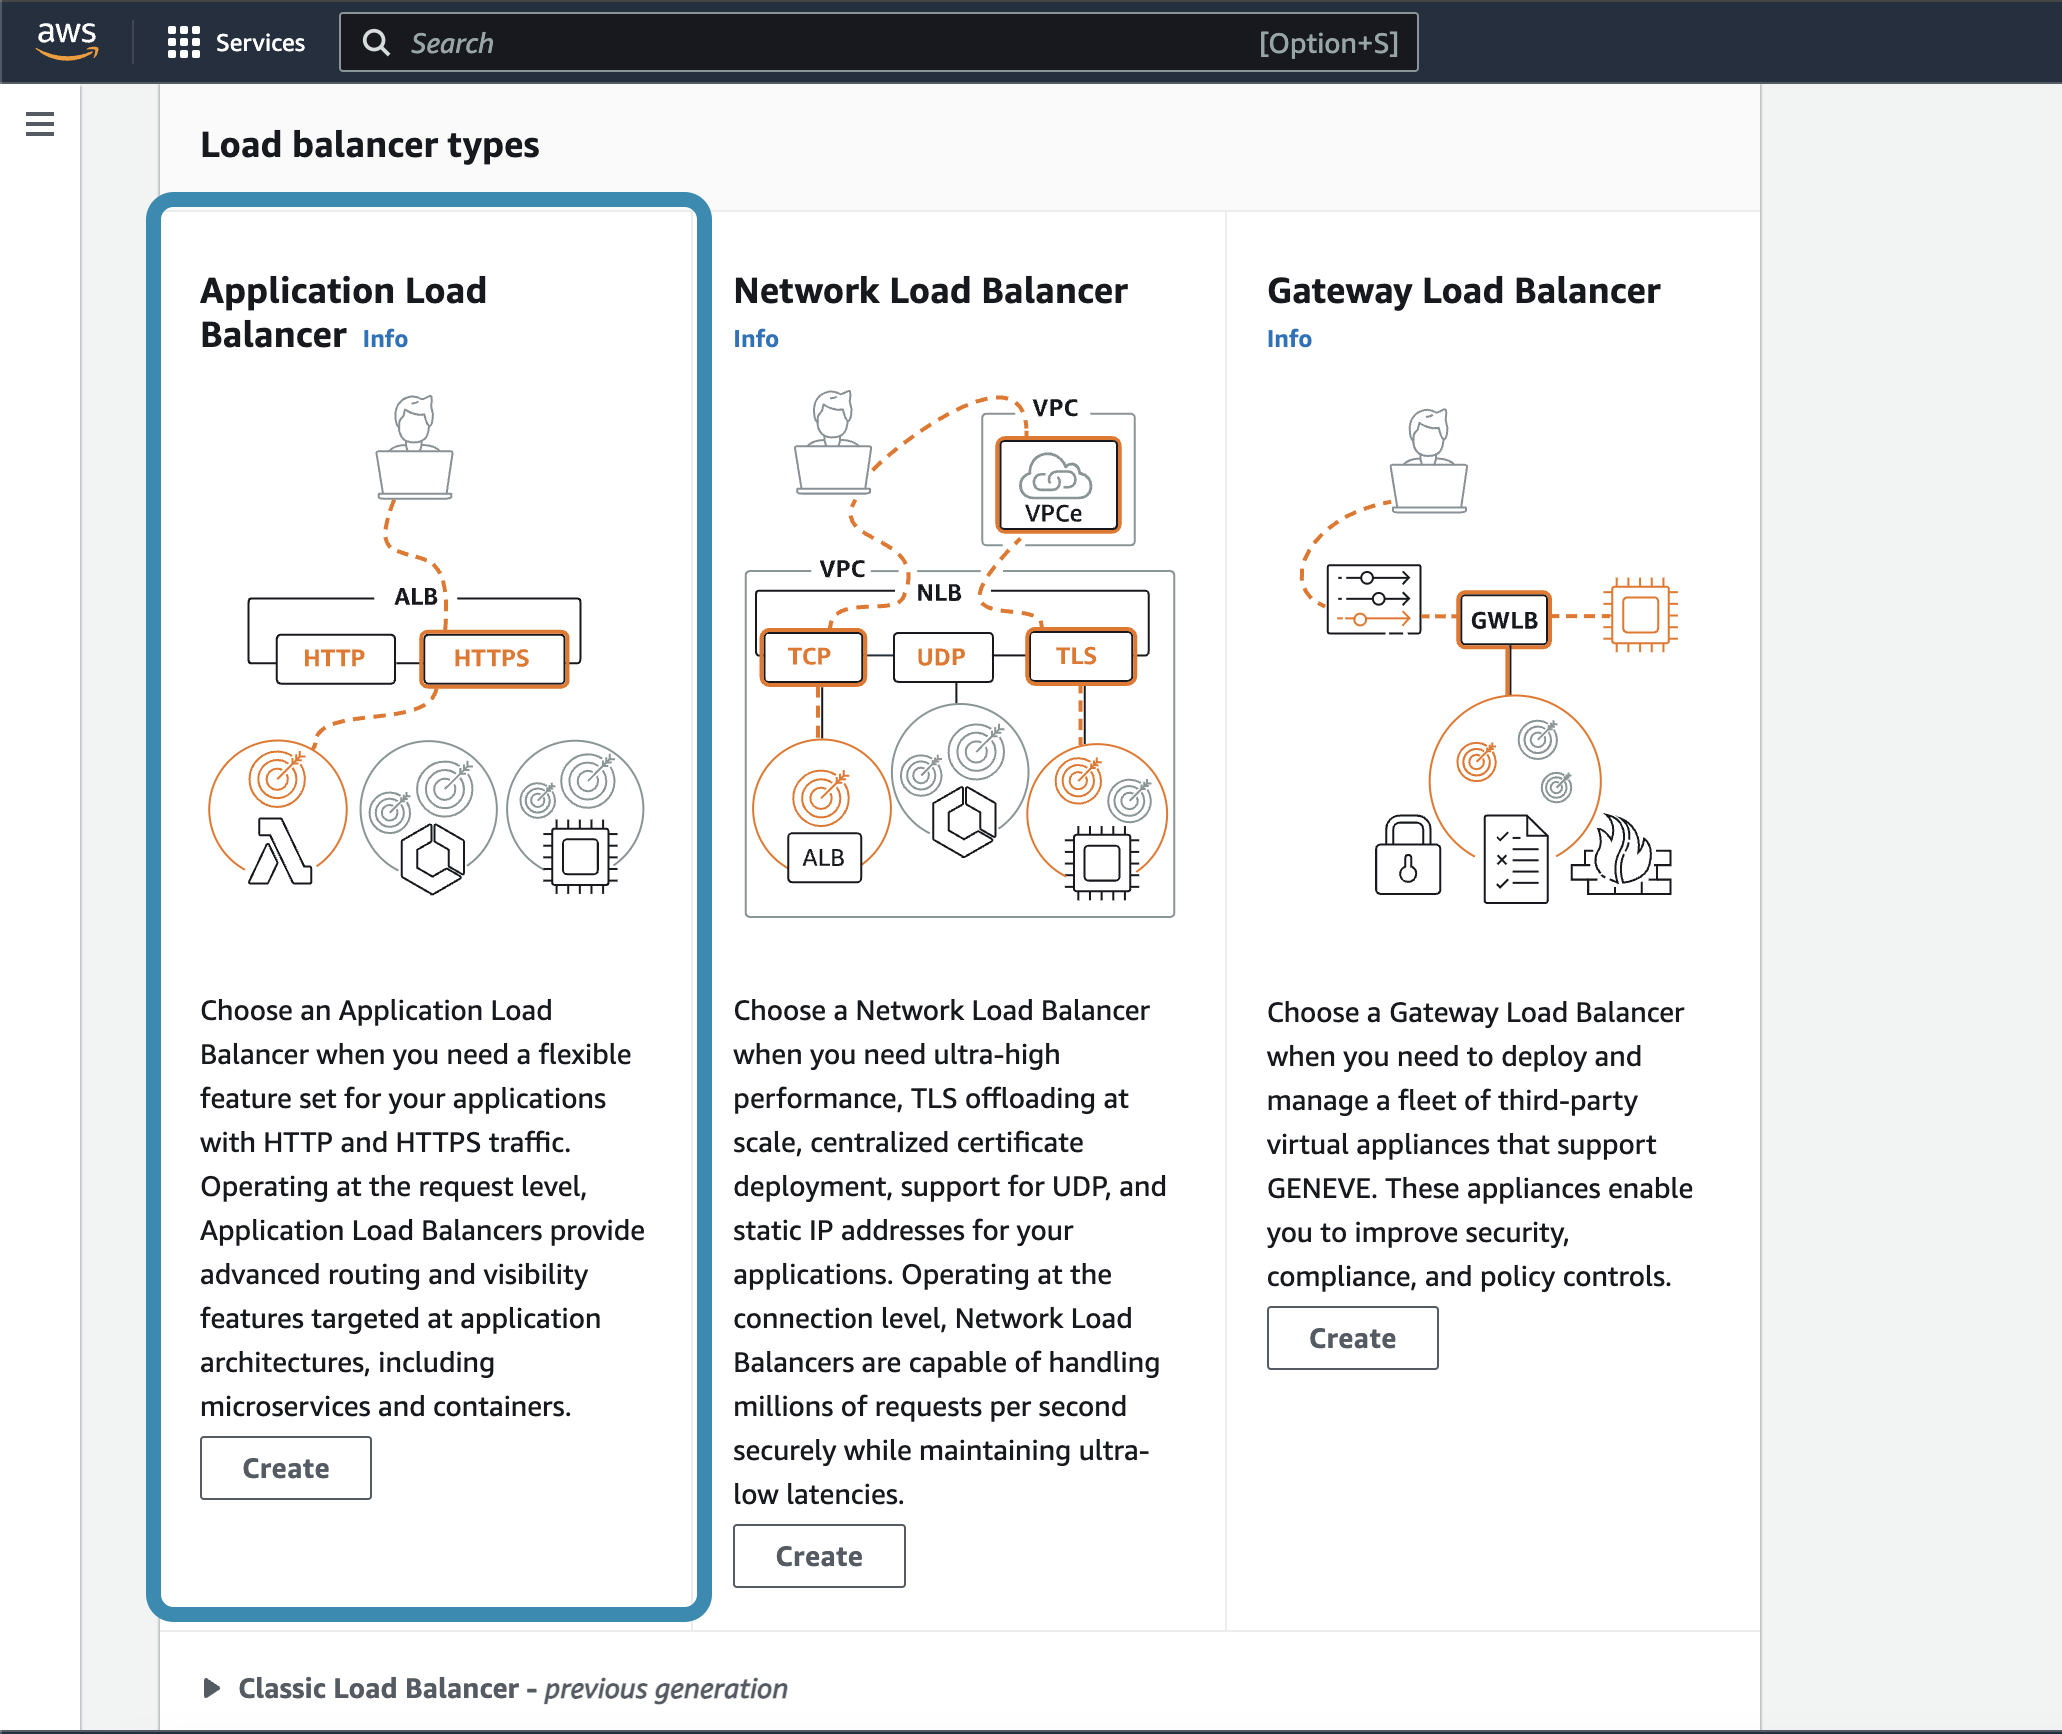
- Click Create.
- Choose Application Load Balancer (ALB) for HTTP/HTTPS traffic or Network Load Balancer (NLB) for TCP traffic.
- Configure Load Balancer:
- Enter a name for your load balancer.
- Select the scheme (internet-facing or internal).
- Choose the VPC and availability zones.
- Configure security groups.
- Click Next: Configure Routing.
- Configure Target Groups:
- Create a new target group.
- Select the target type (instances, IP, or Lambda).
- Configure health checks.
- Click Next: Register Targets.
- Register Targets:
- Select the instances or targets to register.
- Click Next: Review and then Create.
Step 4: Integrating Auto Scaling Group with Load Balancer
- Attach Auto Scaling Group to Load Balancer:
- Navigate back to Auto Scaling Groups in the EC2 Dashboard.
- Select your Auto Scaling group and click Edit.
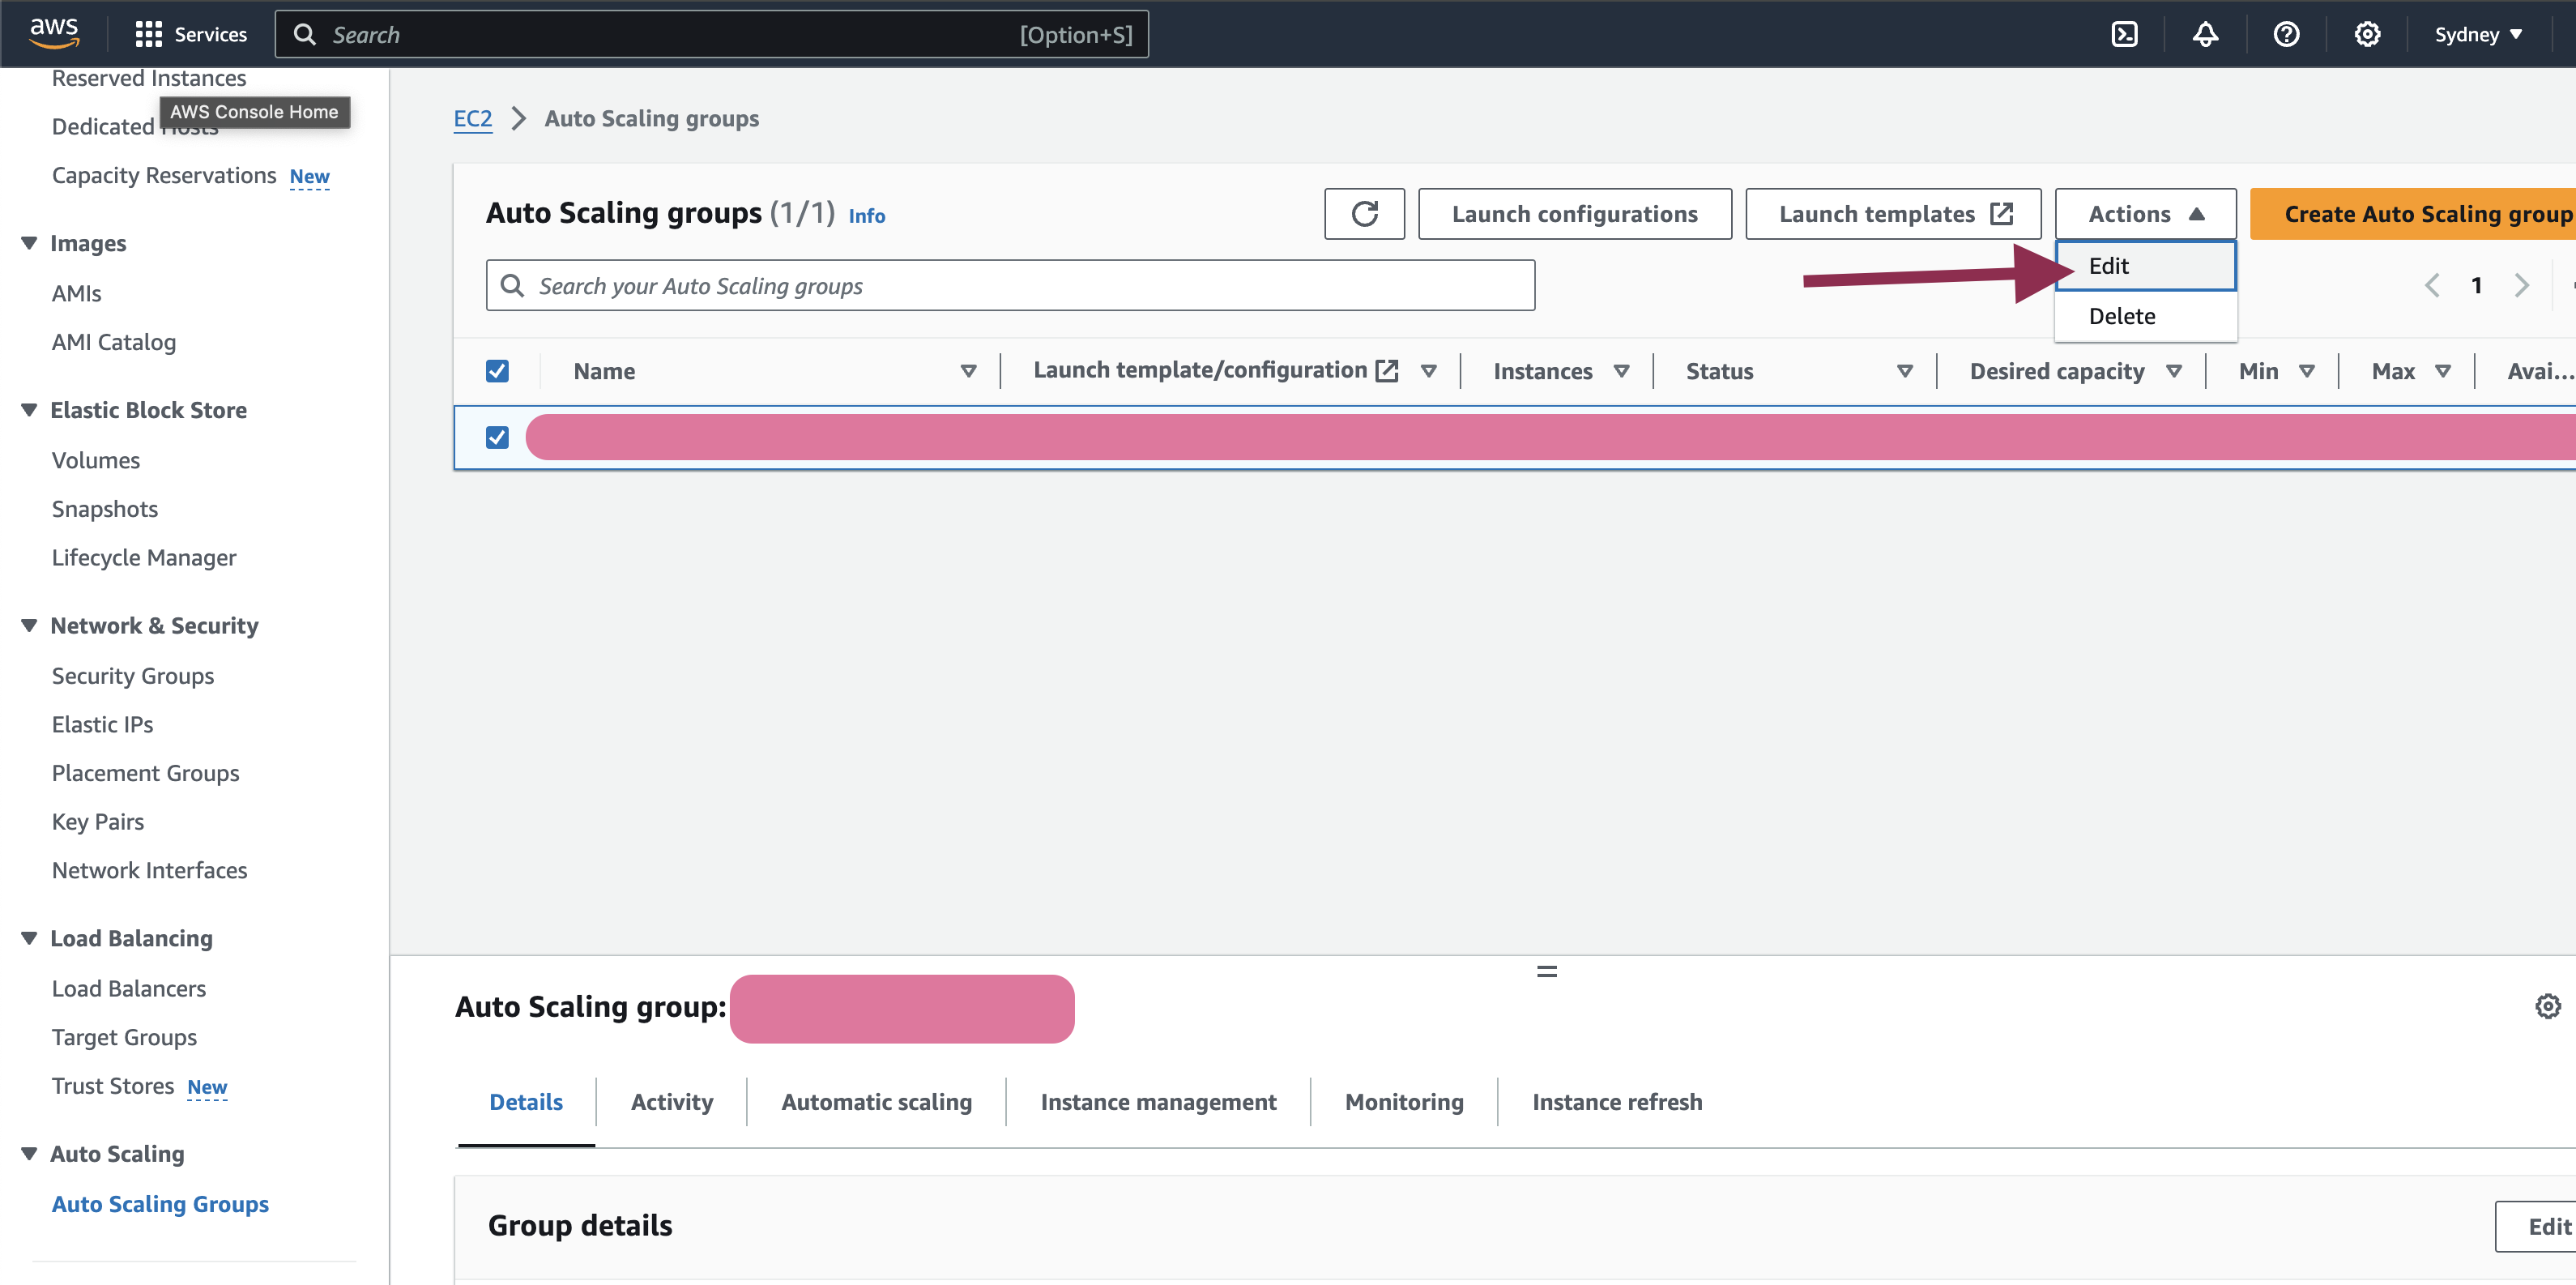
- Under Load balancing, attach the Auto Scaling group to the target group created by the load balancer.
- Save the changes.
Practical Tips for Optimal Setup
- Monitor and Adjust: Regularly monitor the performance of your Auto Scaling group and load balancer using CloudWatch metrics. Adjust scaling policies as needed to optimize performance.
- Security Groups: Ensure security groups are configured correctly to allow traffic between the load balancer and instances.
- Health Checks: Set up health checks to ensure the load balancer routes traffic only to healthy instances.
Benefits of Using AWS Load Balancer with Auto Scaling and Launch Templates
- Scalability: Automatically adjusts the number of instances based on demand, ensuring optimal performance.
- High Availability: Distributes traffic across multiple instances, reducing the risk of downtime.
- Cost Efficiency: Only pay for the resources you use, reducing unnecessary costs.
- Simplified Management: Launch templates streamline instance configuration and deployment.
Challenges and Considerations
- Complexity: Initial setup can be complex, especially for beginners.
- Cost Management: Keep an eye on costs, especially if scaling policies are not optimized.
- Security: Ensure proper security configurations to protect your instances and data.